
At this point we’re sure you already realize how important it is to incorporate fun and entertaining video content in attracting potential customers and explaining to your existing ones the features of your products and services in a brief and concise way.
But if you are a relatively new marketer and may not have a big budget to buy all the cool and expensive toys to play with then you need not fret because starting is fairly inexpensive, and you may be pleasantly surprised to learn that all you need to begin is something that’s already in your pocket (no, not that coupon you’ve been keeping around for no reason). It is your smart phone.
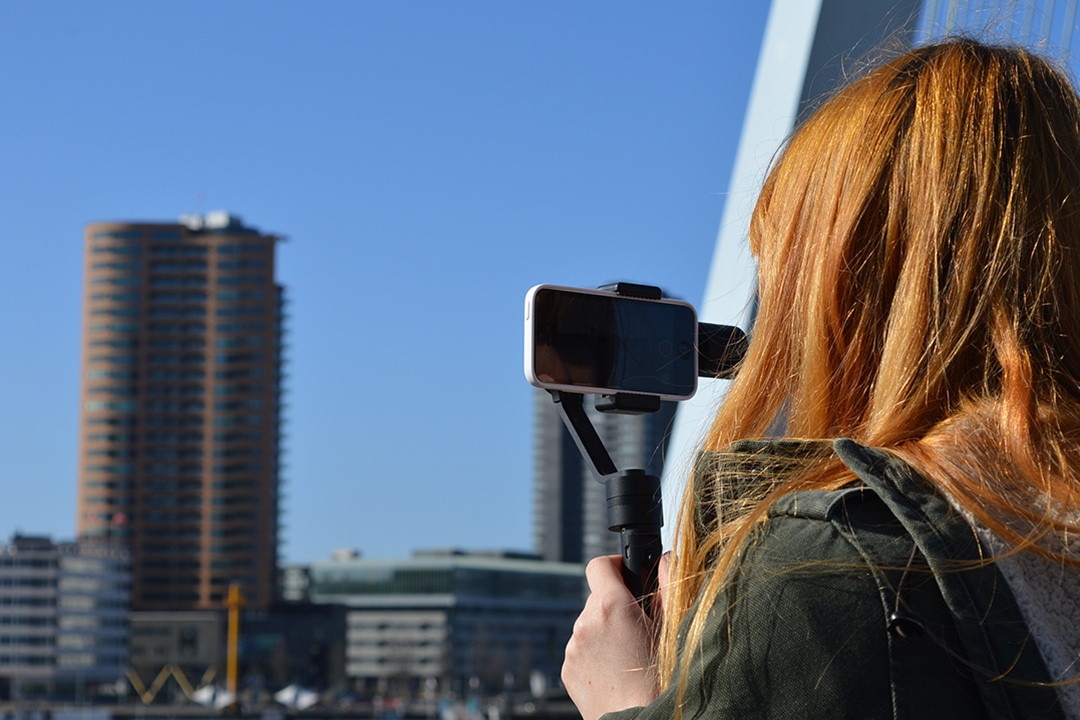
You or a colleague likely as of now possesses an awesome camcorder – one that is less demanding to use than a customary, cutting edge setup. In this post, we’ll walk you through our tips and best practices for recording fantastic promotional and social media recordings with your convenient iPhone and an only a couple more different tools.
1.) Find a peaceful place to film.
This may appear glaringly obvious, but in the event that you’re shooting at work or out in the open, seeing a phone might not tip some people off to keep the volume down if they’re close. Whenever possible, book a meeting space, hang signs advising individuals to avoid where you’re shooting, or bring an associate with you to close off the territory where you intend to film.
2.) Turn off warning pop-ups and notifications.
An iPhone feature that may come off as distracting that could intrude on your shooting is the manner by which your gadget gets a notification. Before you begin recording, set your iPhone to Do Not Disturb mode to keep warnings out of sight so you can film continuously.
Swipe up on your phone and tap the crescent moon symbol to put your phone in Do Not Disturb mode, and tap it again when you’re all set to restore your phone to its previous settings.
3.) Use good lighting for your video.
This part is particularly critical in case you’re shooting in an office working with lots of overhead lighting. You don’t have to purchase anything extravagant for this – truth be told, you can set up together a manual for a DIY lighting setup. We recommend that you get enough light to give the impression of natural light, which implies it’s originating from a wide range of light sources and not simply overhead.
If you don’t have sufficient resources or a budget to buy a lighting setup, find a room or area with a lot of natural light – and make sure to kill the overhead lights – to make your video subject look great.
4.) Edit on a PC.
Once you’ve recorded your video, you have to edit it and prepare it for production. Also, in spite of the fact that the iPhone offers a great deal of visual altering and editing features inside its interface, it’s best to utilize editing programs on your PC to tweak the pictures. Software like iMovie and Adobe Premiere Pro let you include subtitles, sound and filtering adjustments to make your video look (and sound) as if it was put together by pros.


